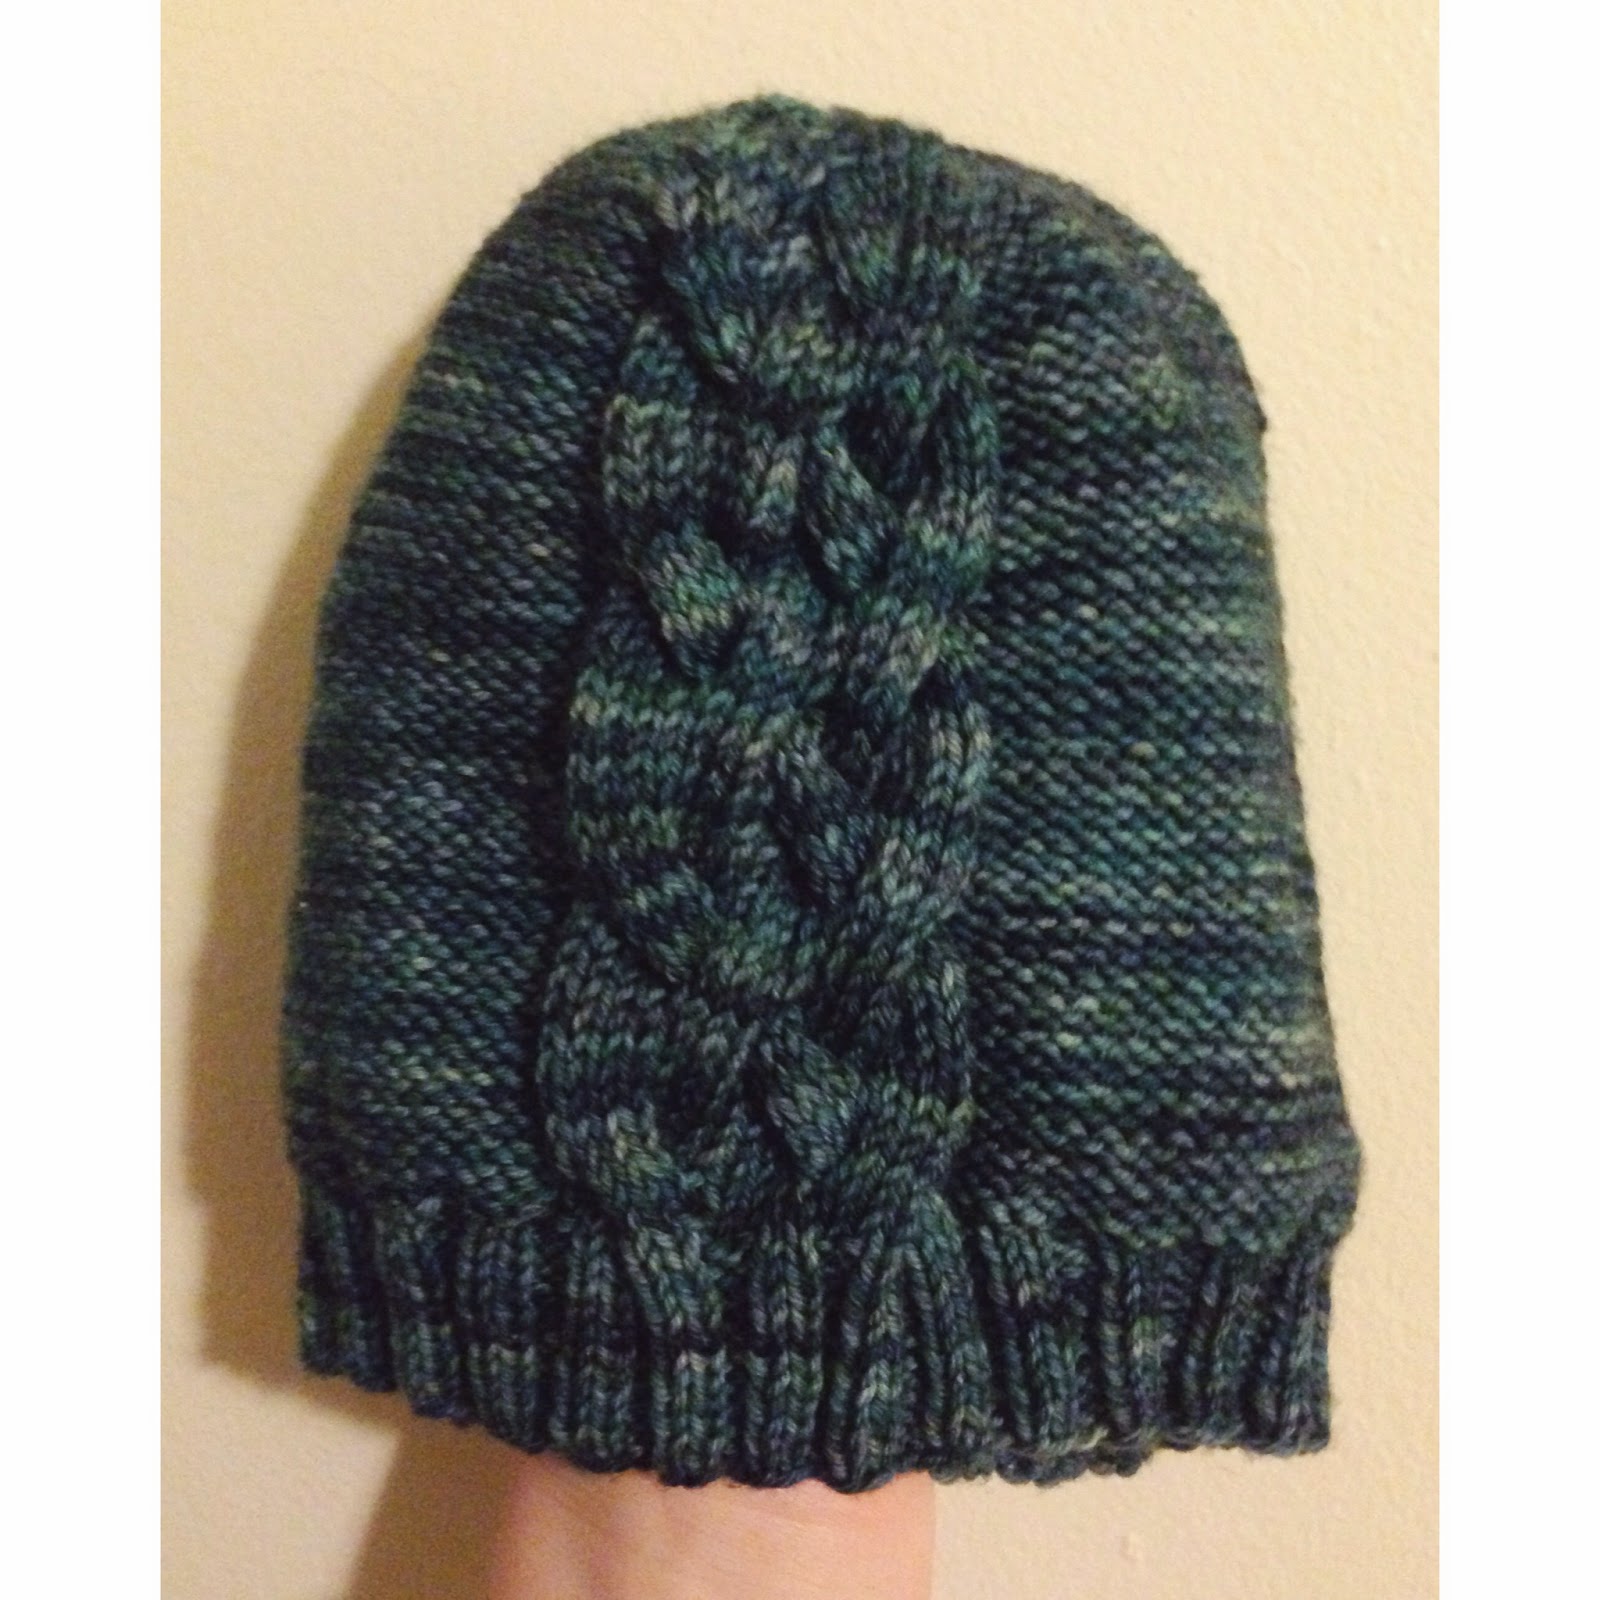
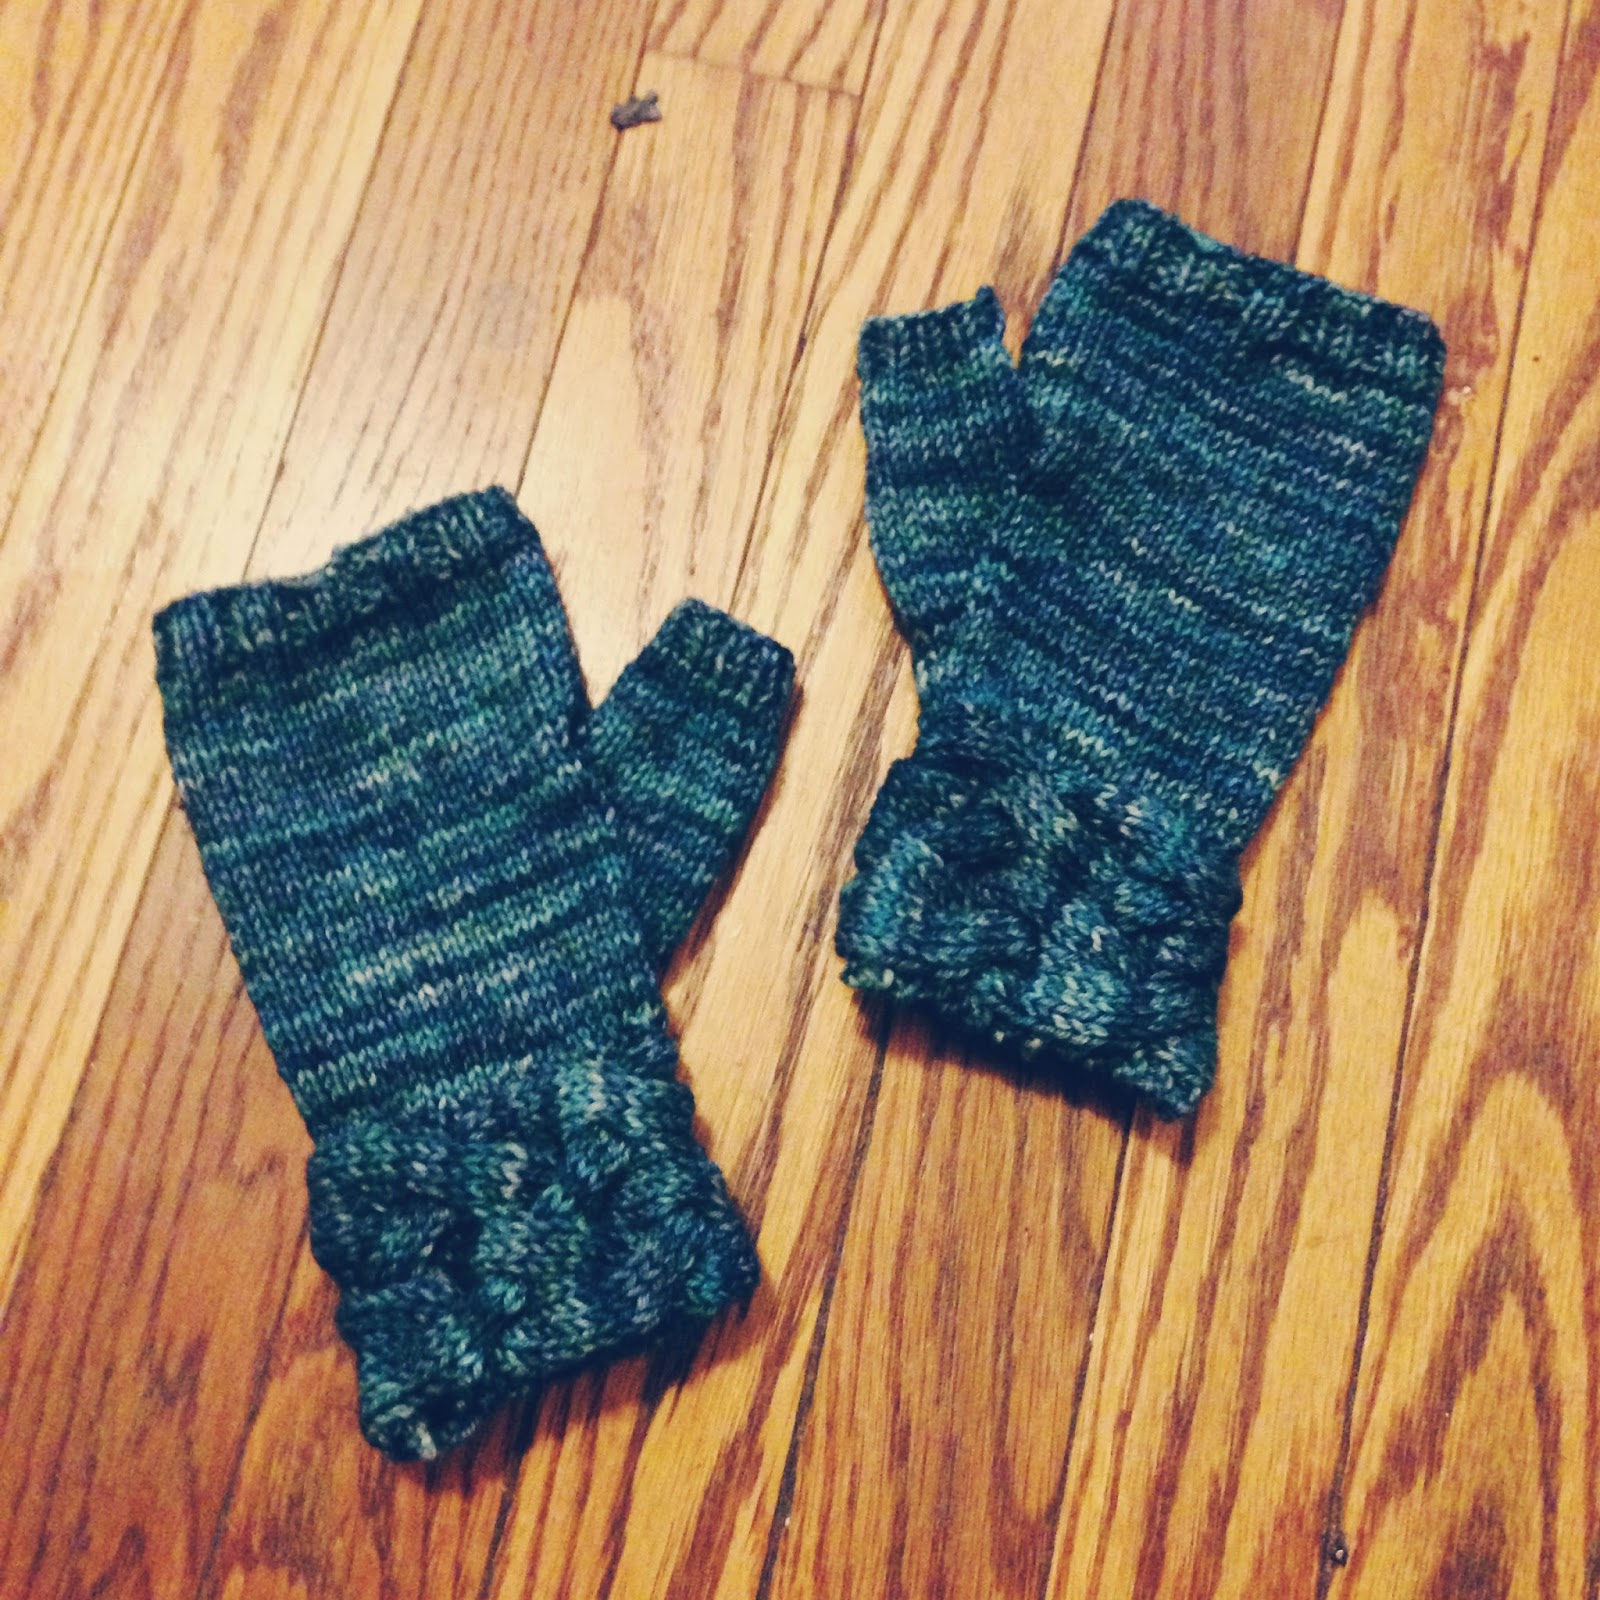
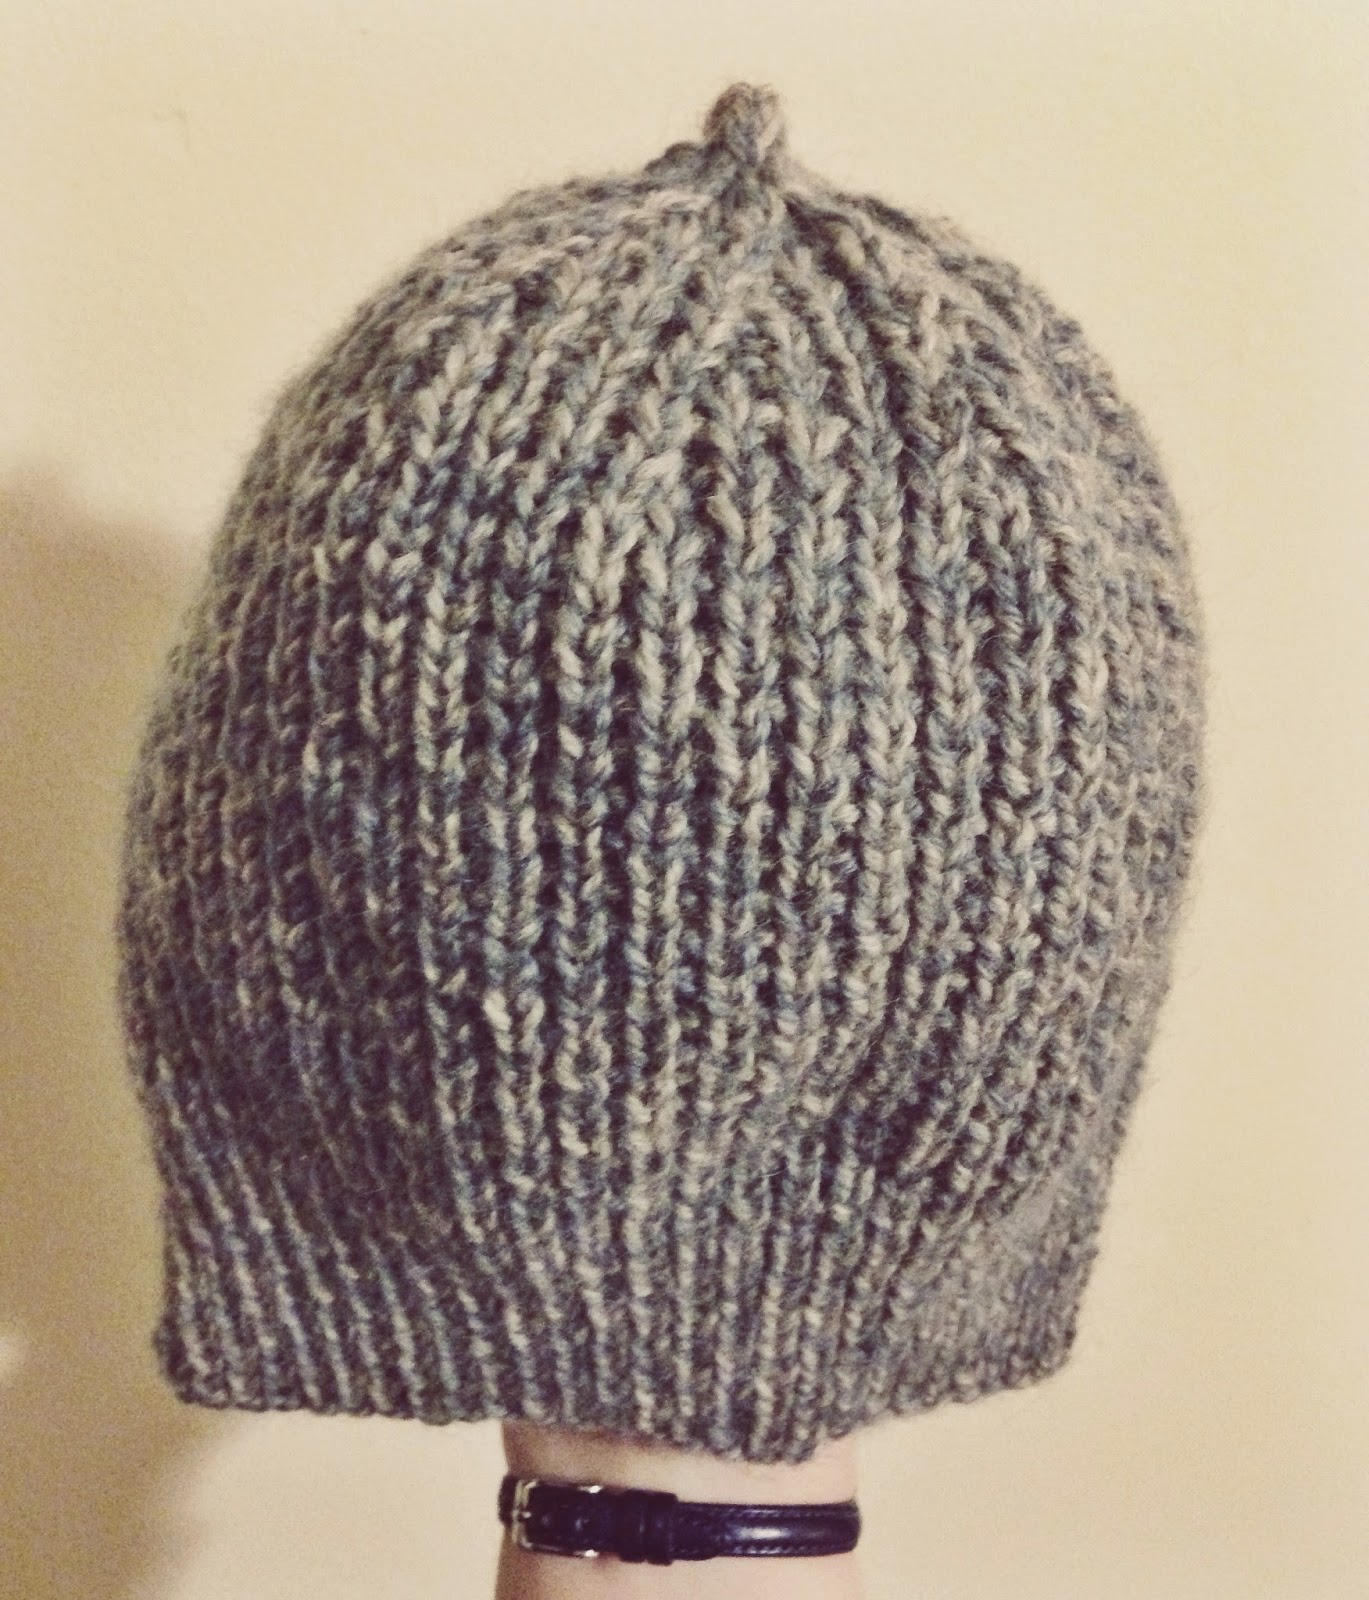
This hat matches these fingerless mitts. It was also raffled off to raise money for Cystic Fibrosis. I love the five-stranded braided cable! Fits like a beanie.
MATERIALS:
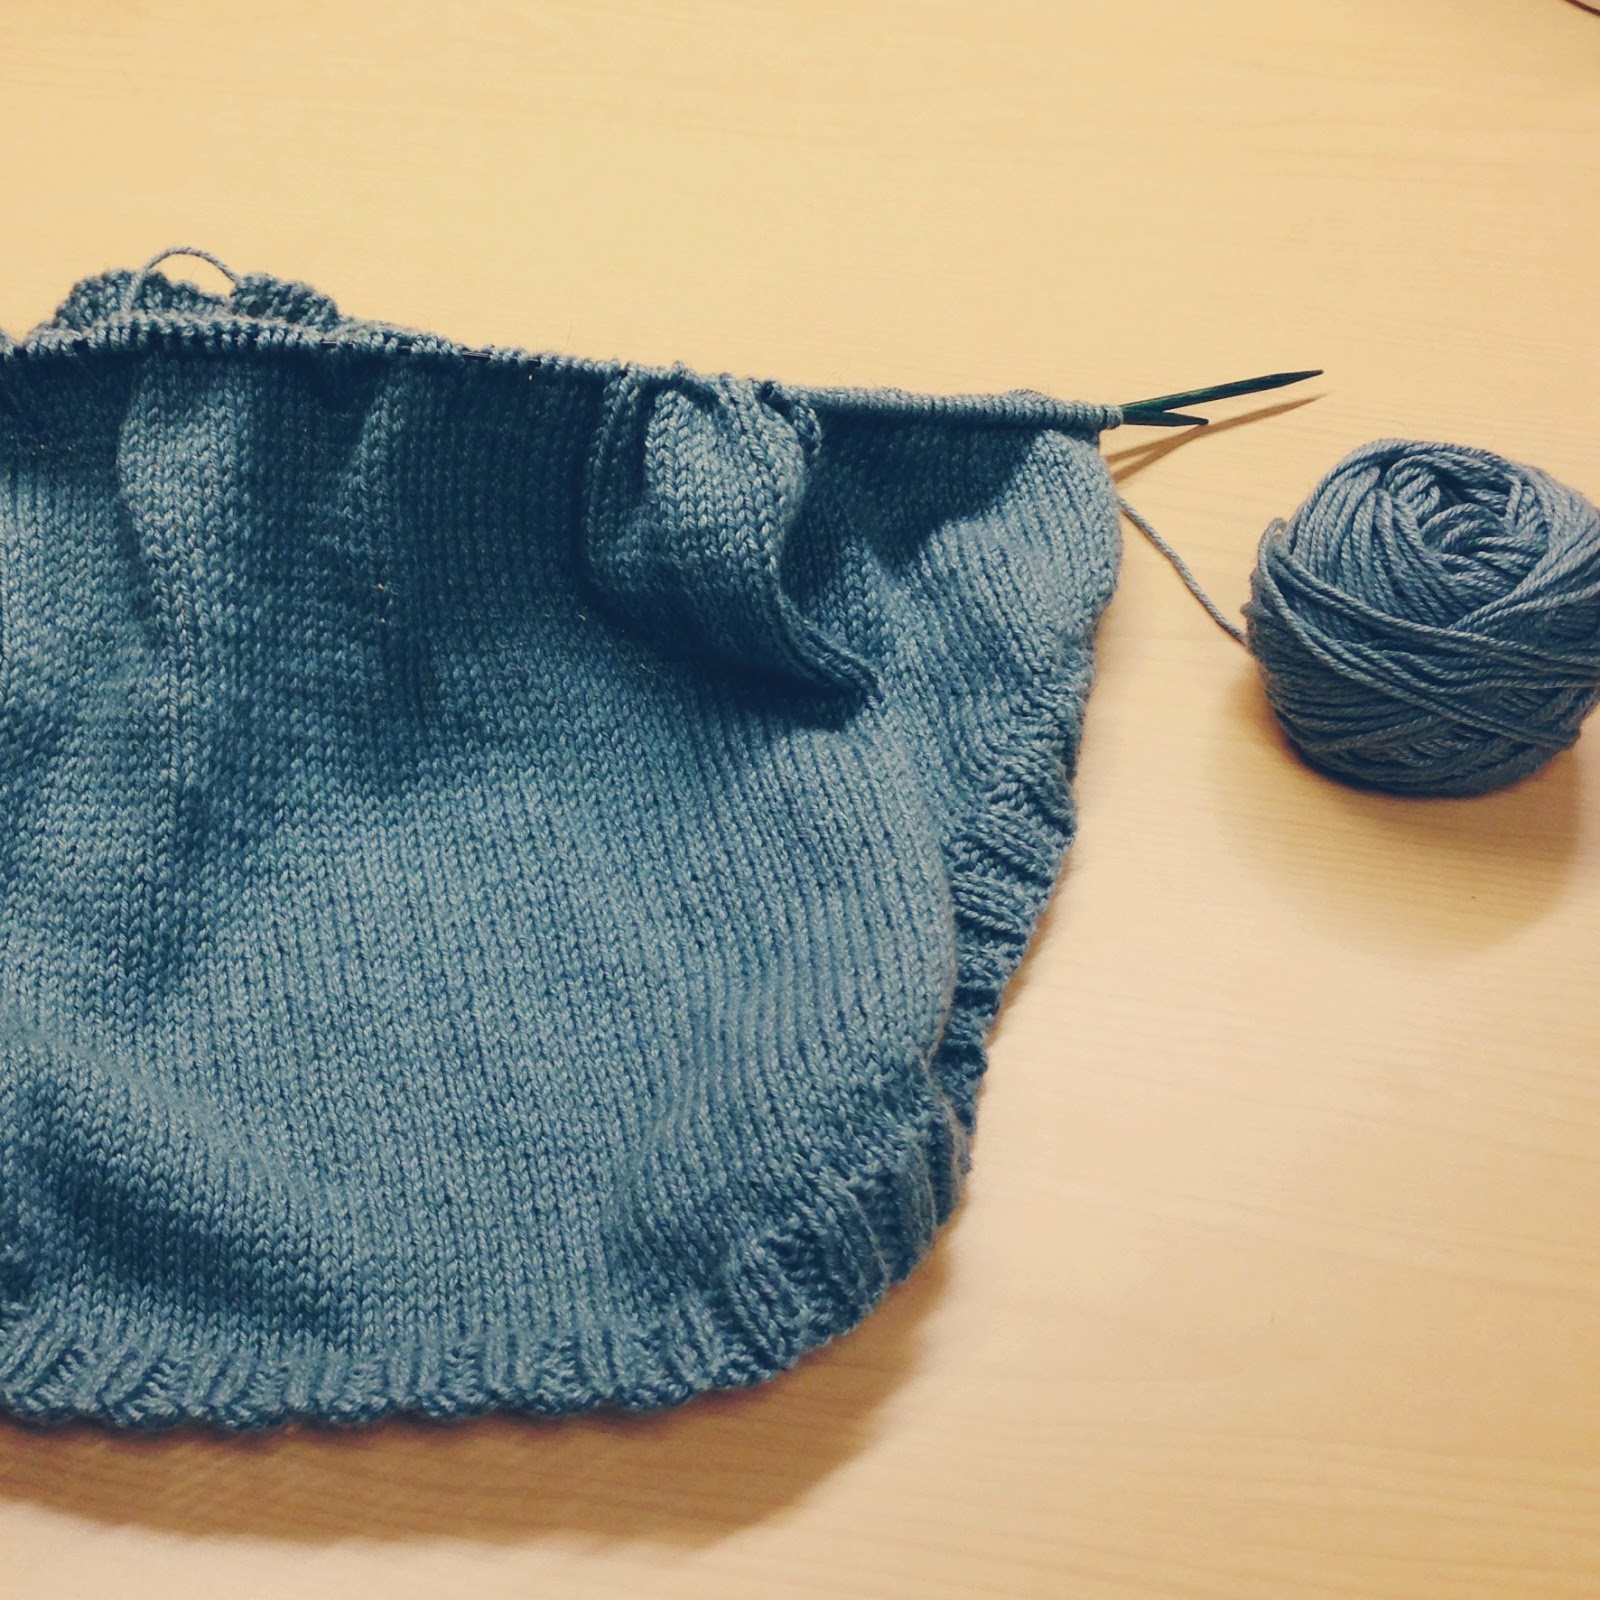
1 skein (150 yds) of dk weight yarn (I used Malabrigo Arroyo in 855 Aguas)
16″ circular needles, sizes 4 (3.5 mm) and 6 (4.0 mm)
1 set dpns in size 6 (4.0 mm)
cable needle
tapestry needle
2 stitch markers
PATTERN:
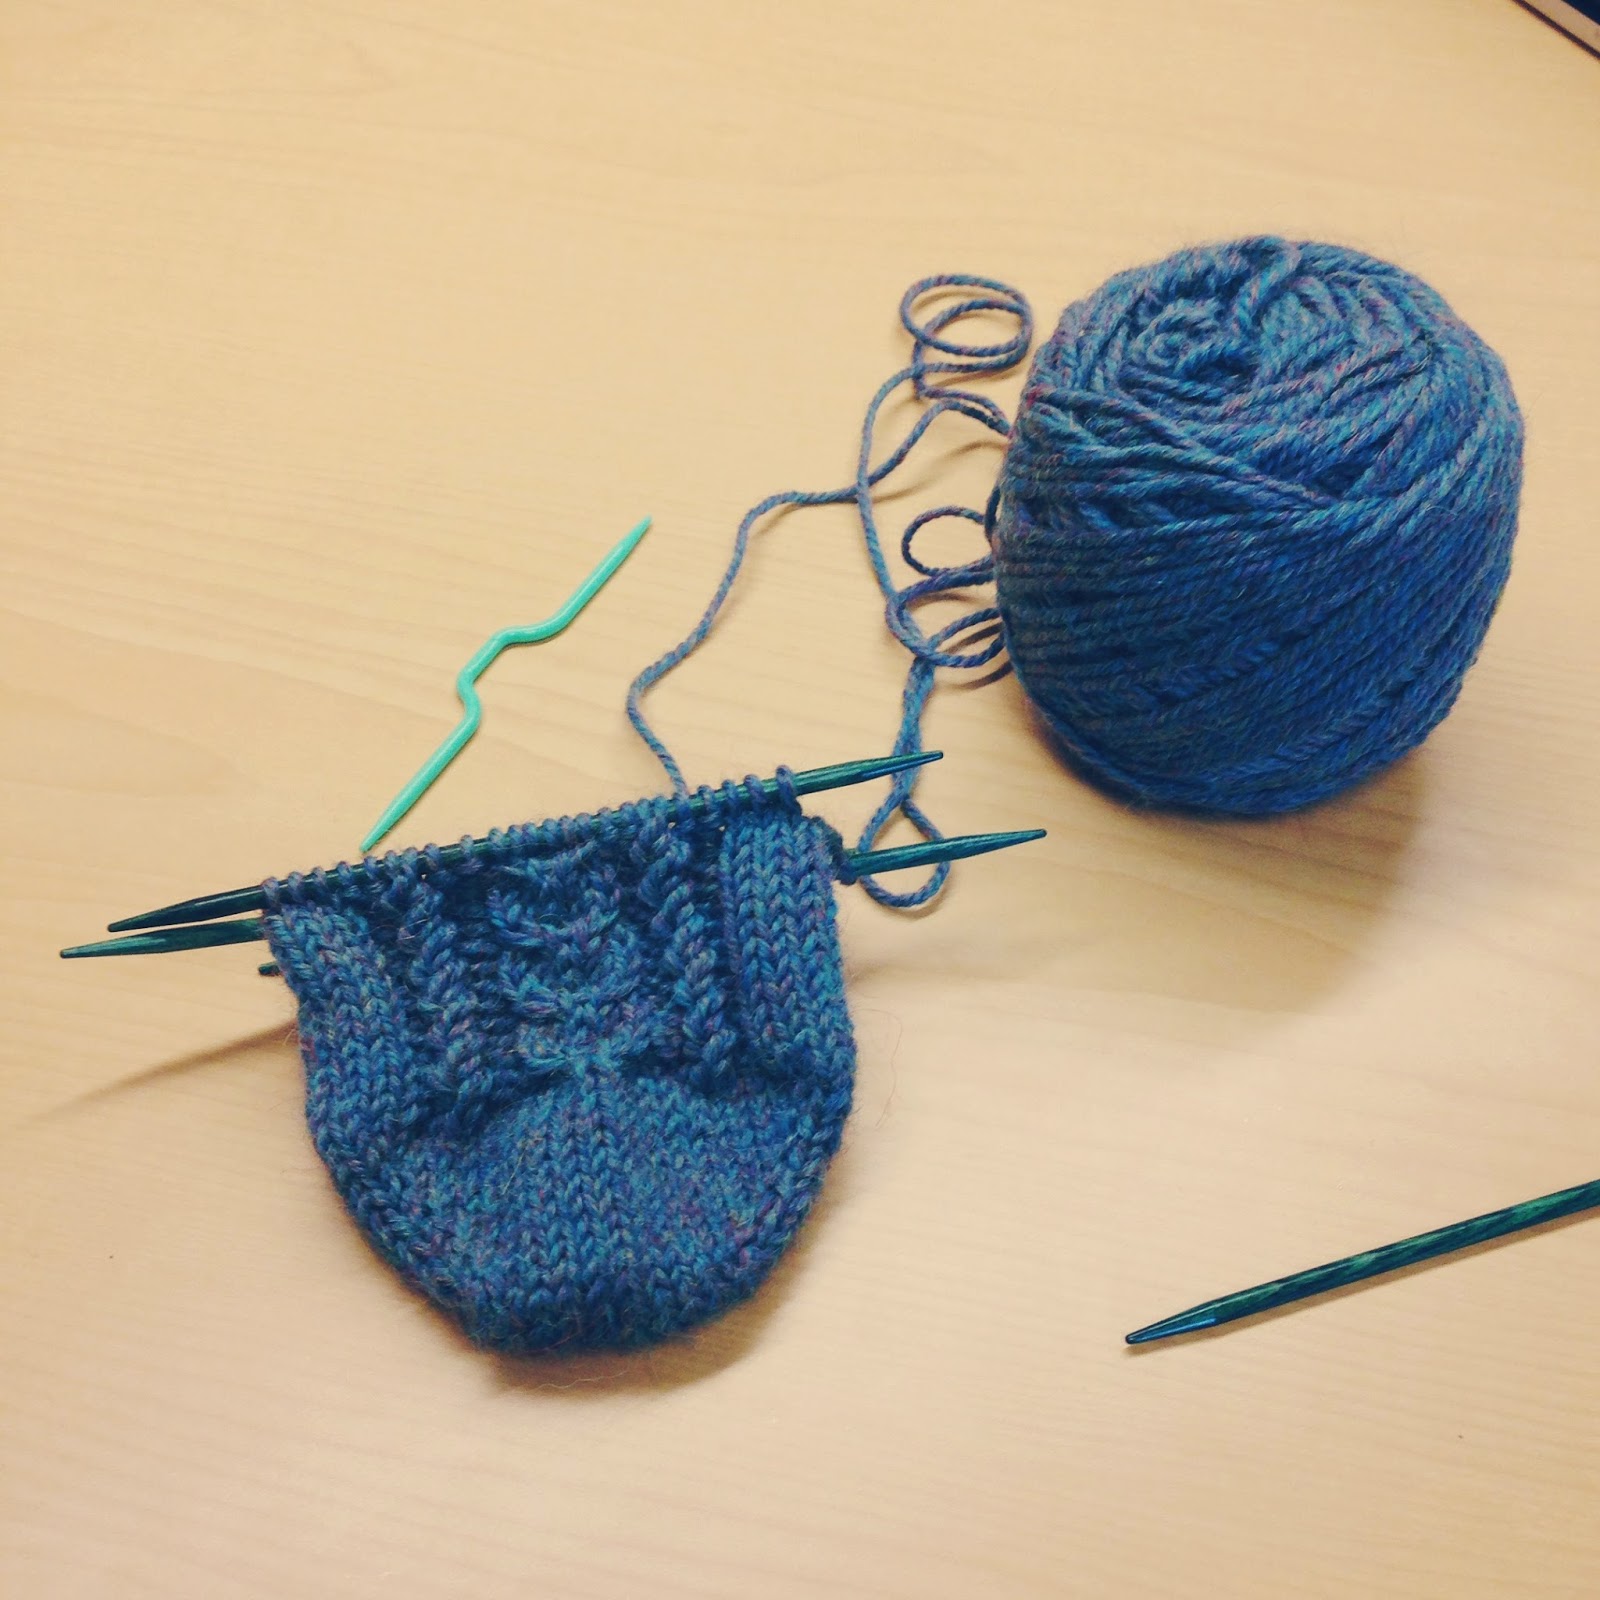
With smaller circular needles, CO 108 sts and join in round
Work in 2×2 rib (k2, p2 around) until work measures 1.25″
Switch to larger circular needles, placing a stitch marker to mark the beg of row
Next row: k12, m1, k8, p4, m1 *(p12, m1), repeat from * until end of row (117 sts)
K 20 sts, pm, purl to end of row
Your cable pattern will be worked over the first 20 sts of the row, between the stitch markers
CABLE PATTERN:
Row 1: C8B, k4, C8F
Rows 2, 3, 4: k20, purl to end
Row 5: K4, C8F, k8
Rows 6, 7, 8: k20, purl to end
Row 9: K8, C8B, k4
Rows 10, 11, 12: k20, purl to end
Work cable pattern 3 times.
DECREASE: cable decreases are in [ ]
Place 6 markers on hat so that stitches are divided as follows: 20, 19, 20, 19, 20, 19.
**Use a different colored marker for the beginning of your row.
Row 1: [C8B, k4, C8F], purl until end of row
Row 2: [k2tog, k16, ssk], *(p2tog, purl to 2 sts before marker, ssp), rpt from * to end of row
Row 3: [k18], purl until end of row
Row 4: [k3, k2tog, k8, ssk, k3], *(p2tog, purl to 2 sts before marker, ssp), rpt from * end end of row
Row 5: [k3, place 3 sts onto cn, hold front, k4 from left needle, knit 3 from cn, k6], purl until end of row
Row 6: [k2tog, k3, k2tog, k7, ssk], *(p2tog, purl to 2 sts before marker, ssp), rpt from * to end of row
Row 7: [k13], purl until end of row
Row 8: [k5, k2tog, k2, ssk, k2], *(p2tog, purl to 2 sts before marker, ssp), rpt from * to end of row
Row 9: [k4, place 3 sts onto cn, hold front, k2 from left needle, knit 3 from cn, k2], purl until end of row
Row 10: [k2tog, k7, ssk], *(p2tog, purl to 2 sts before marker, ssp), rpt from * end end of row
Row 11: [k3, k2tog, k2tog, k2], *(p2tog, purl to 2 sts before marker, ssp), rpt from * end end of row
Row 12: [k2tog, k3, ssk], *(p2tog, purl to 2 sts before marker, ssp), rpt from * end end of row
Row 13: [k2tog, k1, ssk], *(p2tog, purl to 2 sts before marker, ssp), rpt from * end end of row
Row 14: [sl 1, k2tog, psso], p2tog around until end of row
Rpt p2tog until you have only 3 sts left.
Cut yarn and pull through remaining sts. Weave in ends.
Be sure to check out my other designs here!
Kylen